
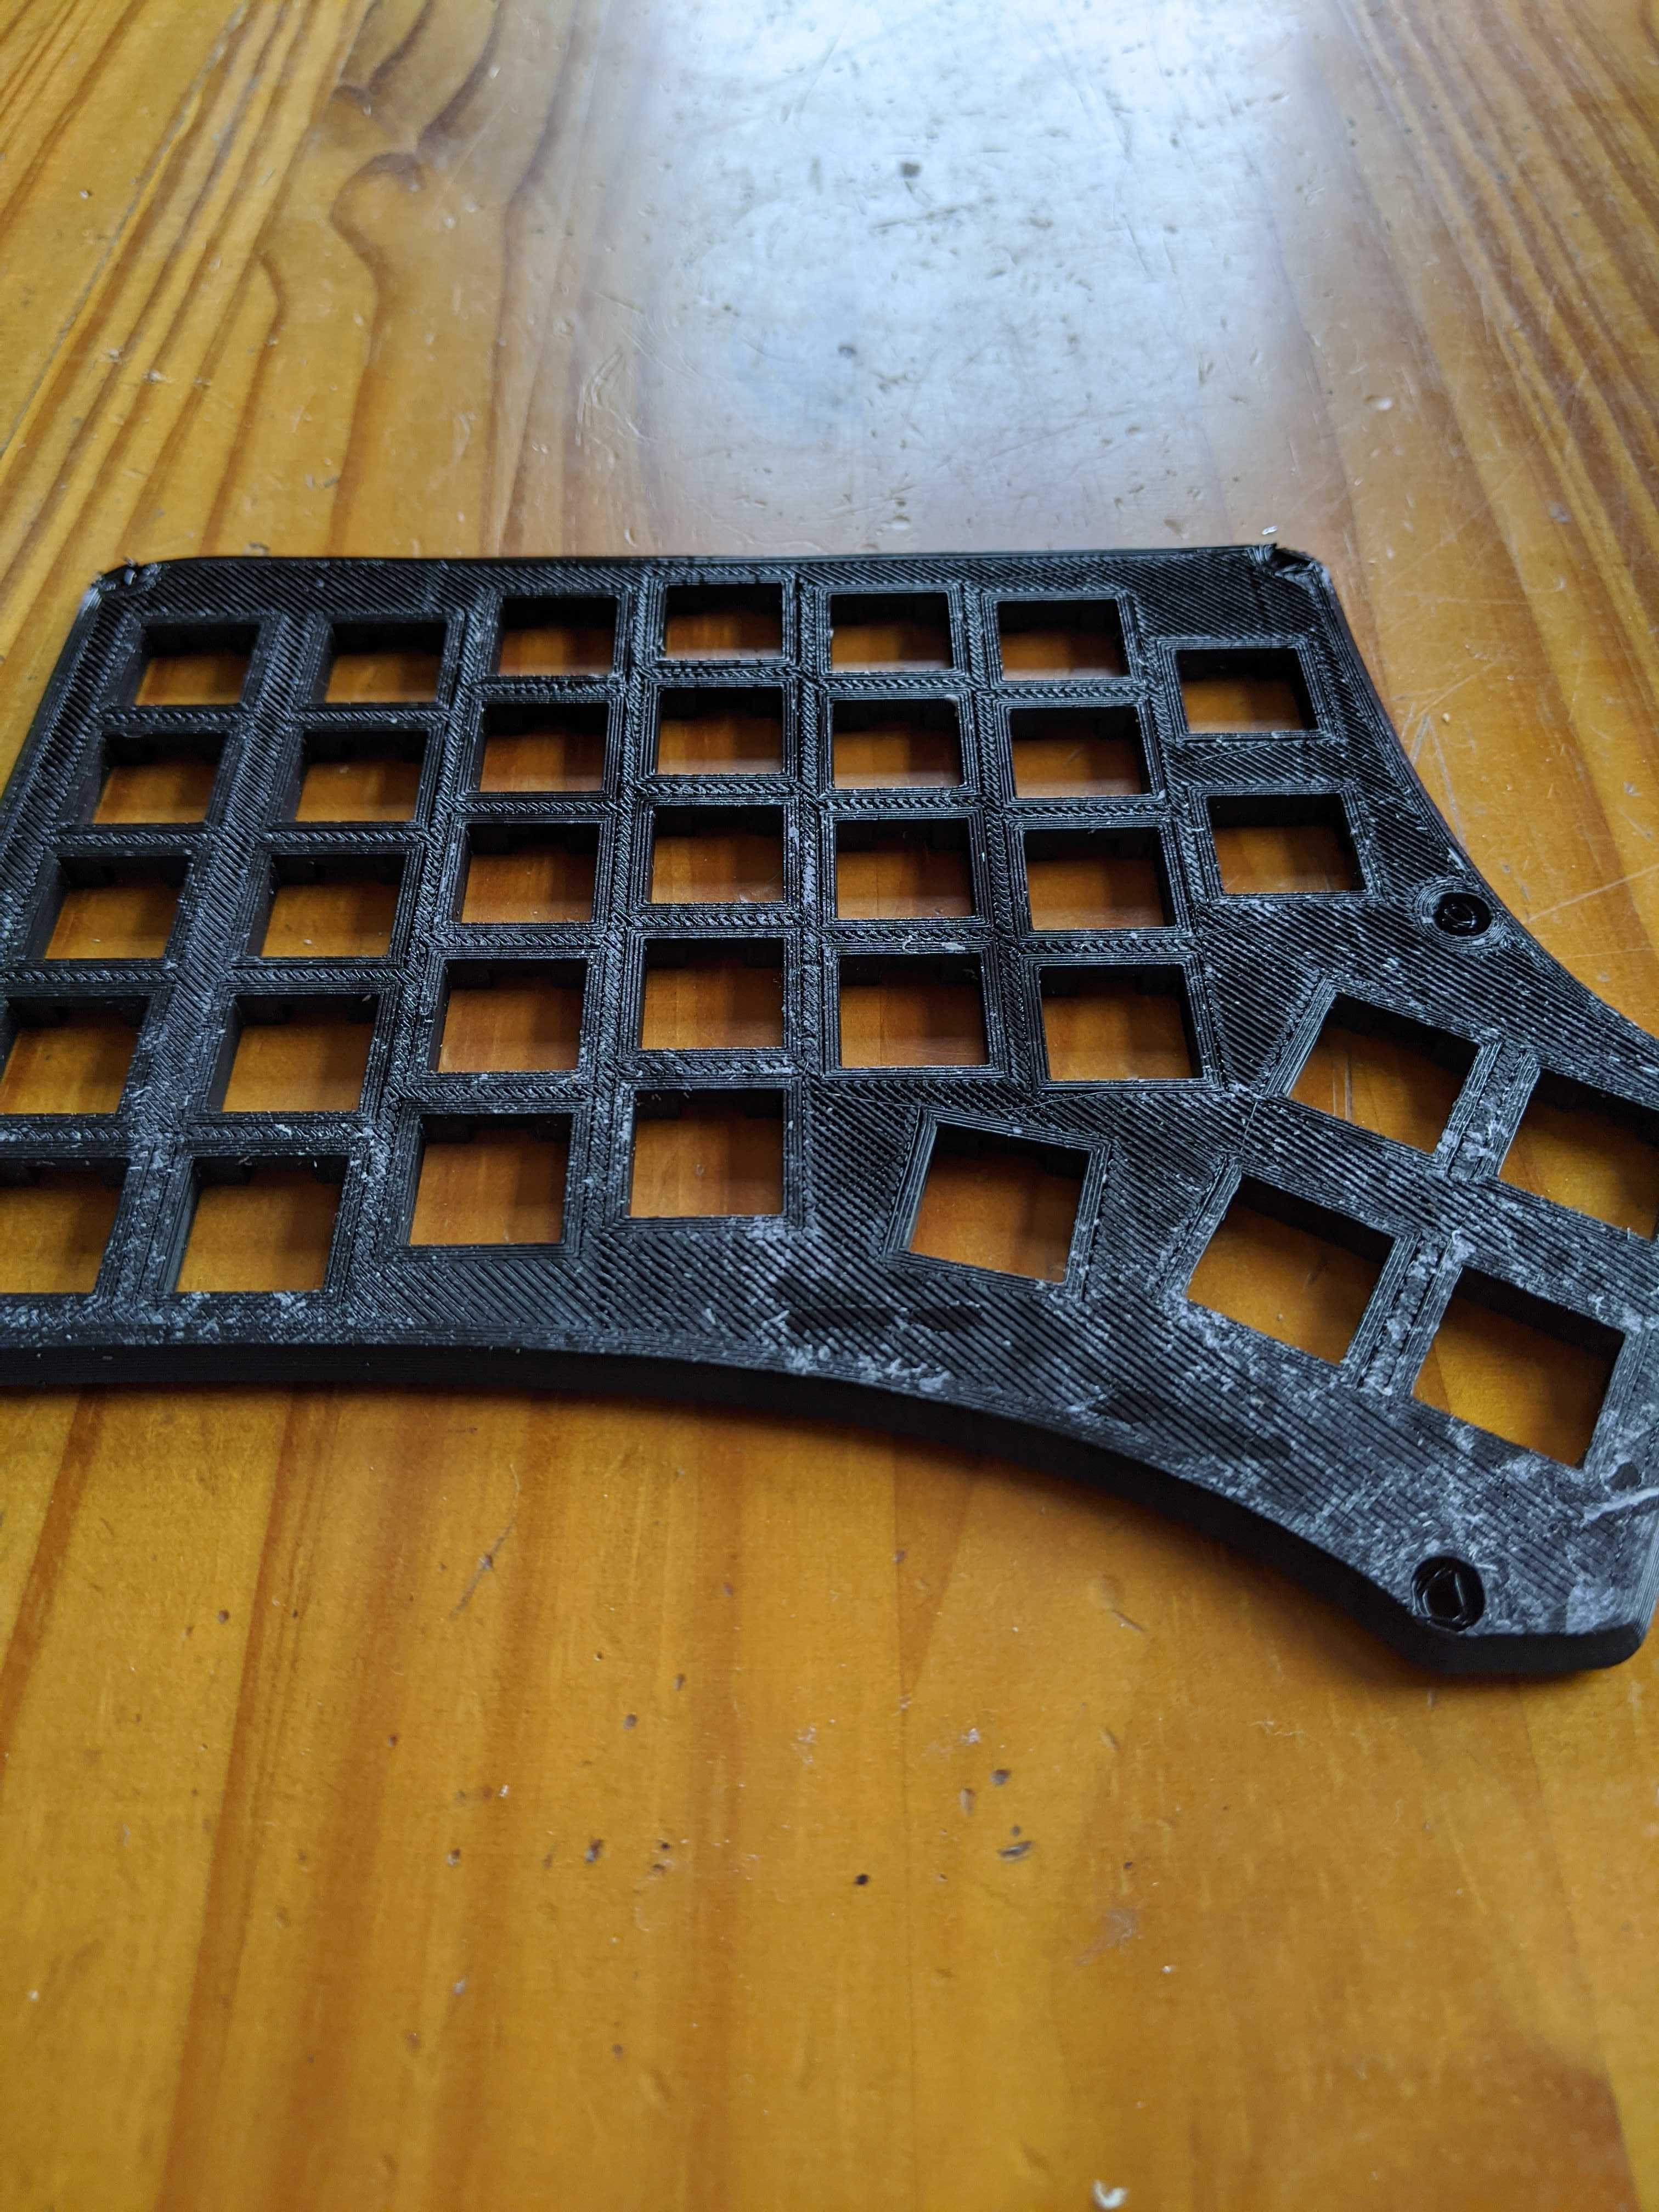
The first step was to 3d print a case. I tested a few and ended up going with this, the most popular design on Thingiverse. I really wanted this other one to work because I think it looked better, but the 3d printed top plate for that guy flexed a little too much for my liking. The one I went with is think and heavy (printed at 50% infill).
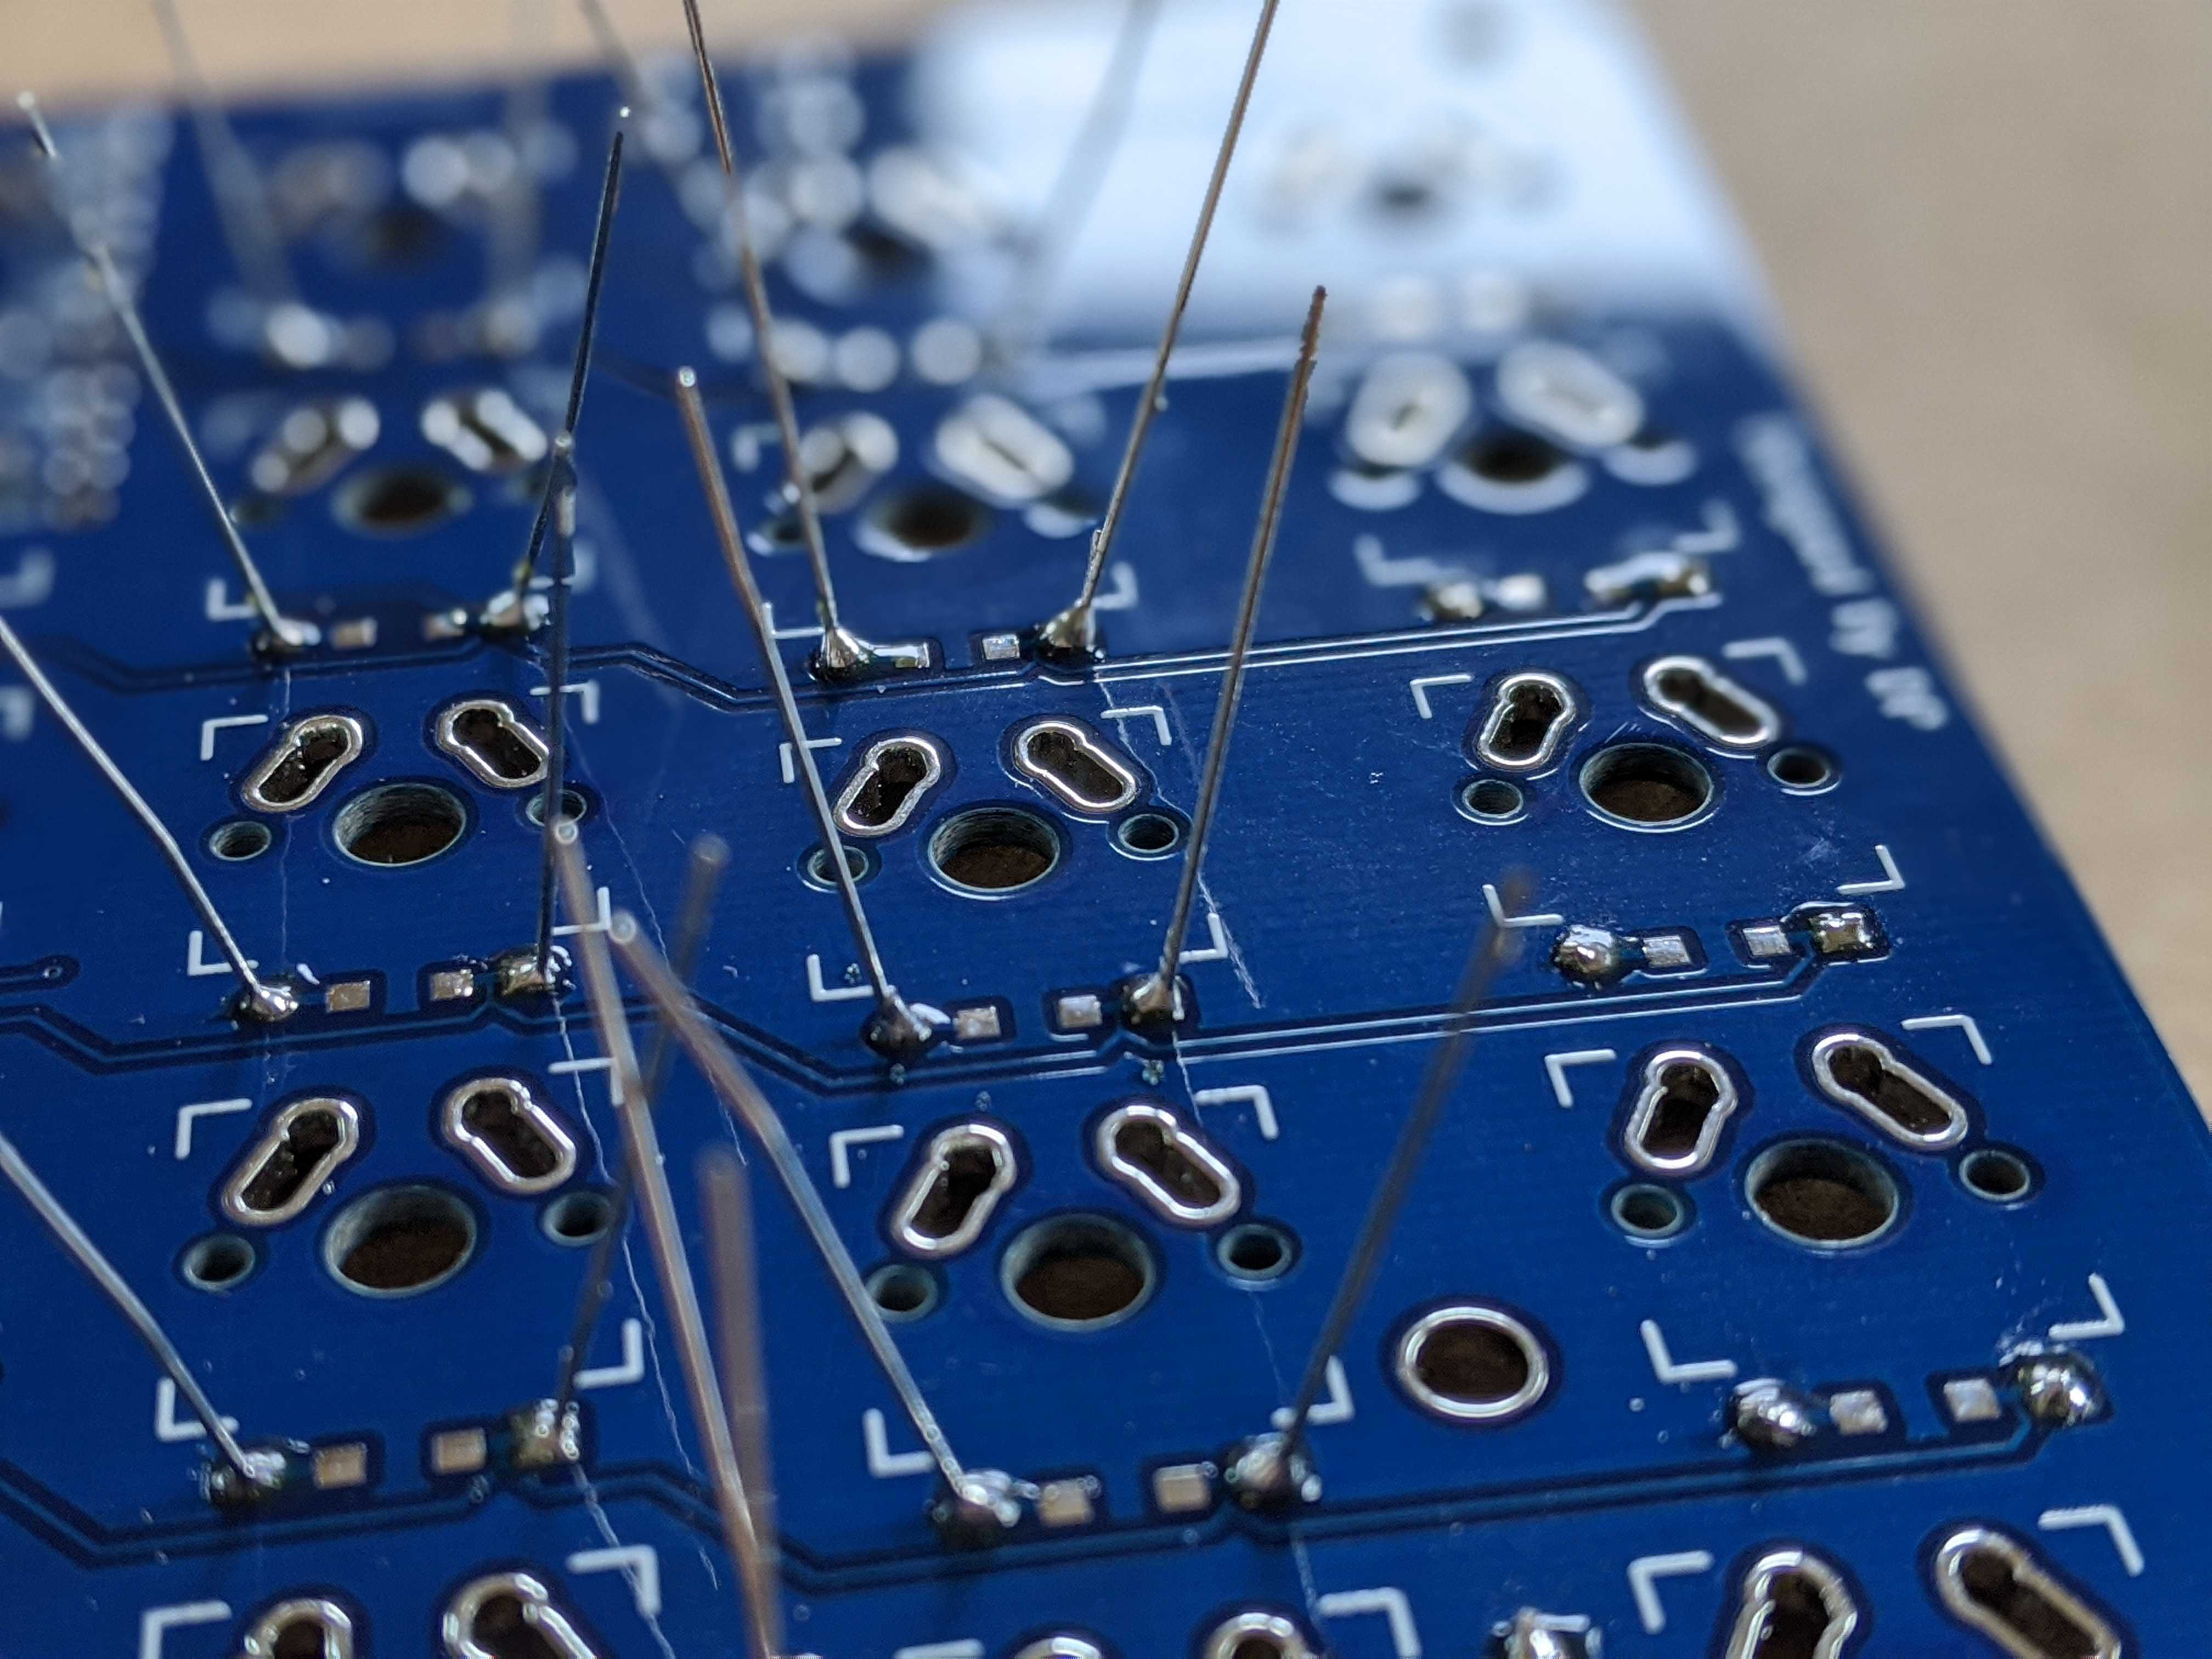
Next, I soldered the diodes onto the PCB. Not too bad of a process and not too bad of a job, I think. I also socketed the two Pro Micros following these instructions. It worked but was pretty ugly (and I forgot to take pictures).
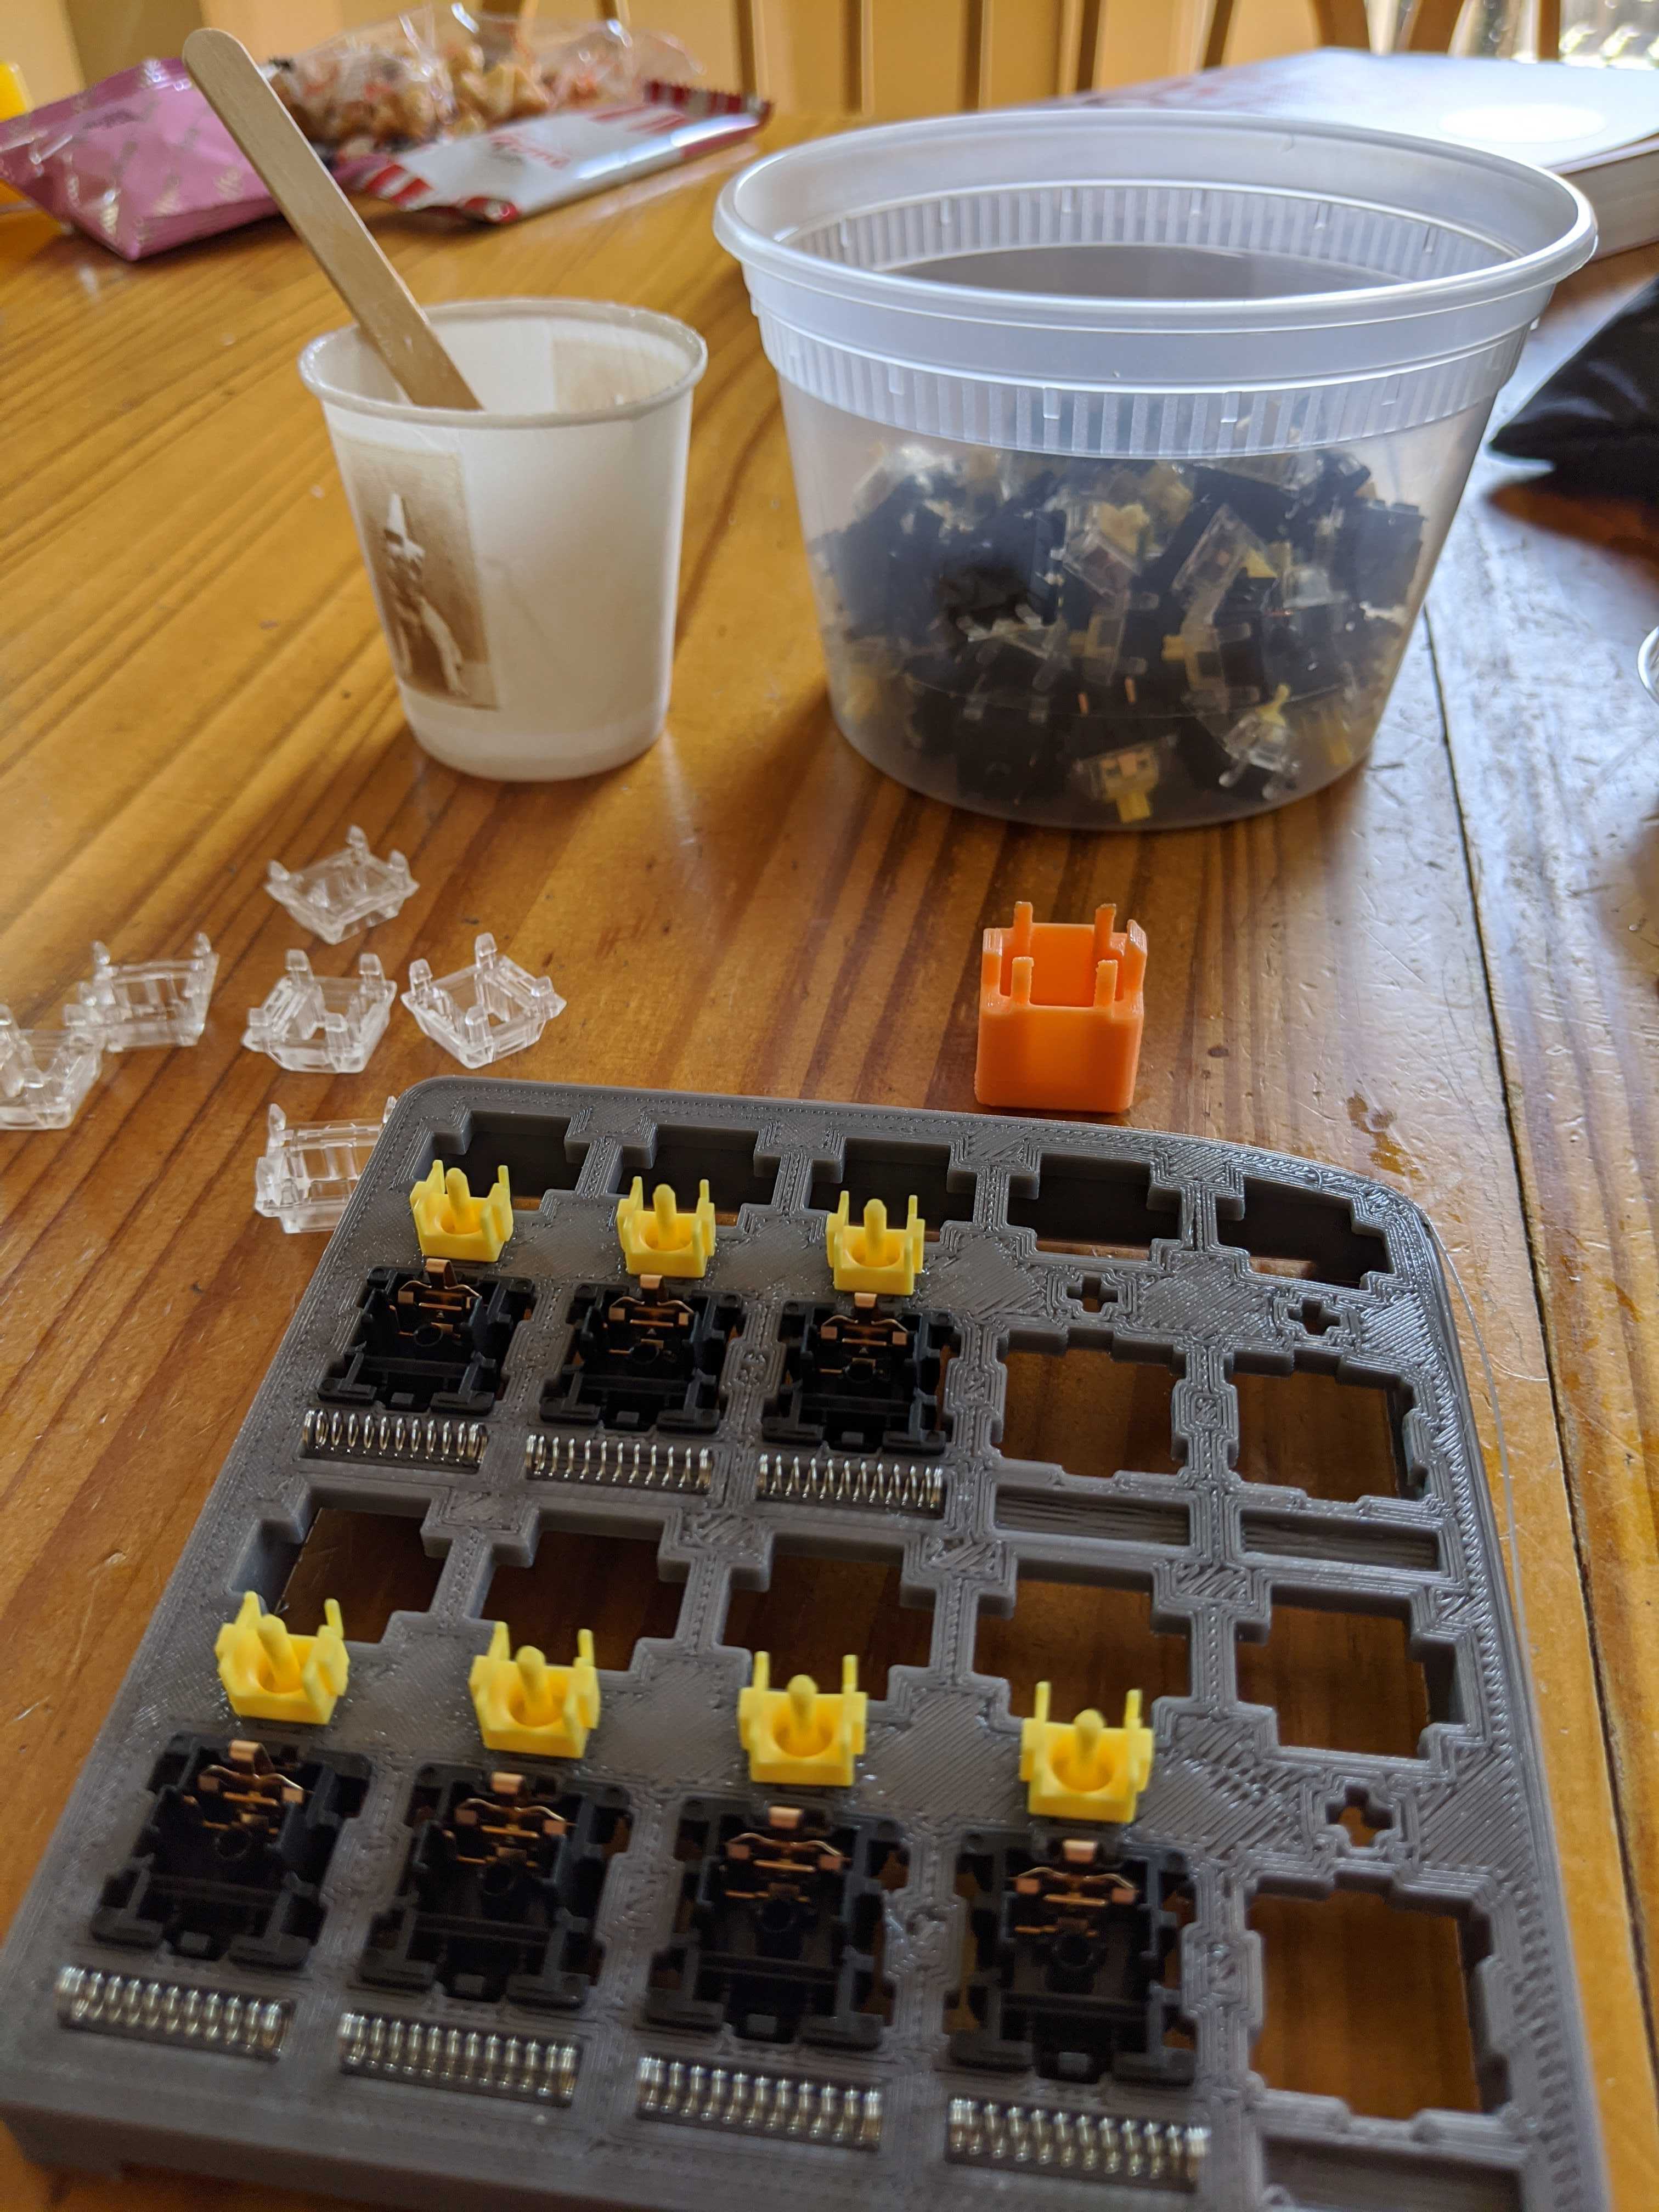
I’m using Gateron yellow switches here. It was my first time using a linear switches. Ordered from kbdfans.com for super cheap, only $14 for 70. Shipping kills the deal, though. Lubed with a 60/40 mix of Super Lube 21030 grease and Super Lube 51004 synthetic oil. Used a 3d printed switch opener (after a couple of duds, I found this one works the best) and a 3d printed a lubing station. The corner of that print lifted off the build plate a little but that didn’t affect anything.
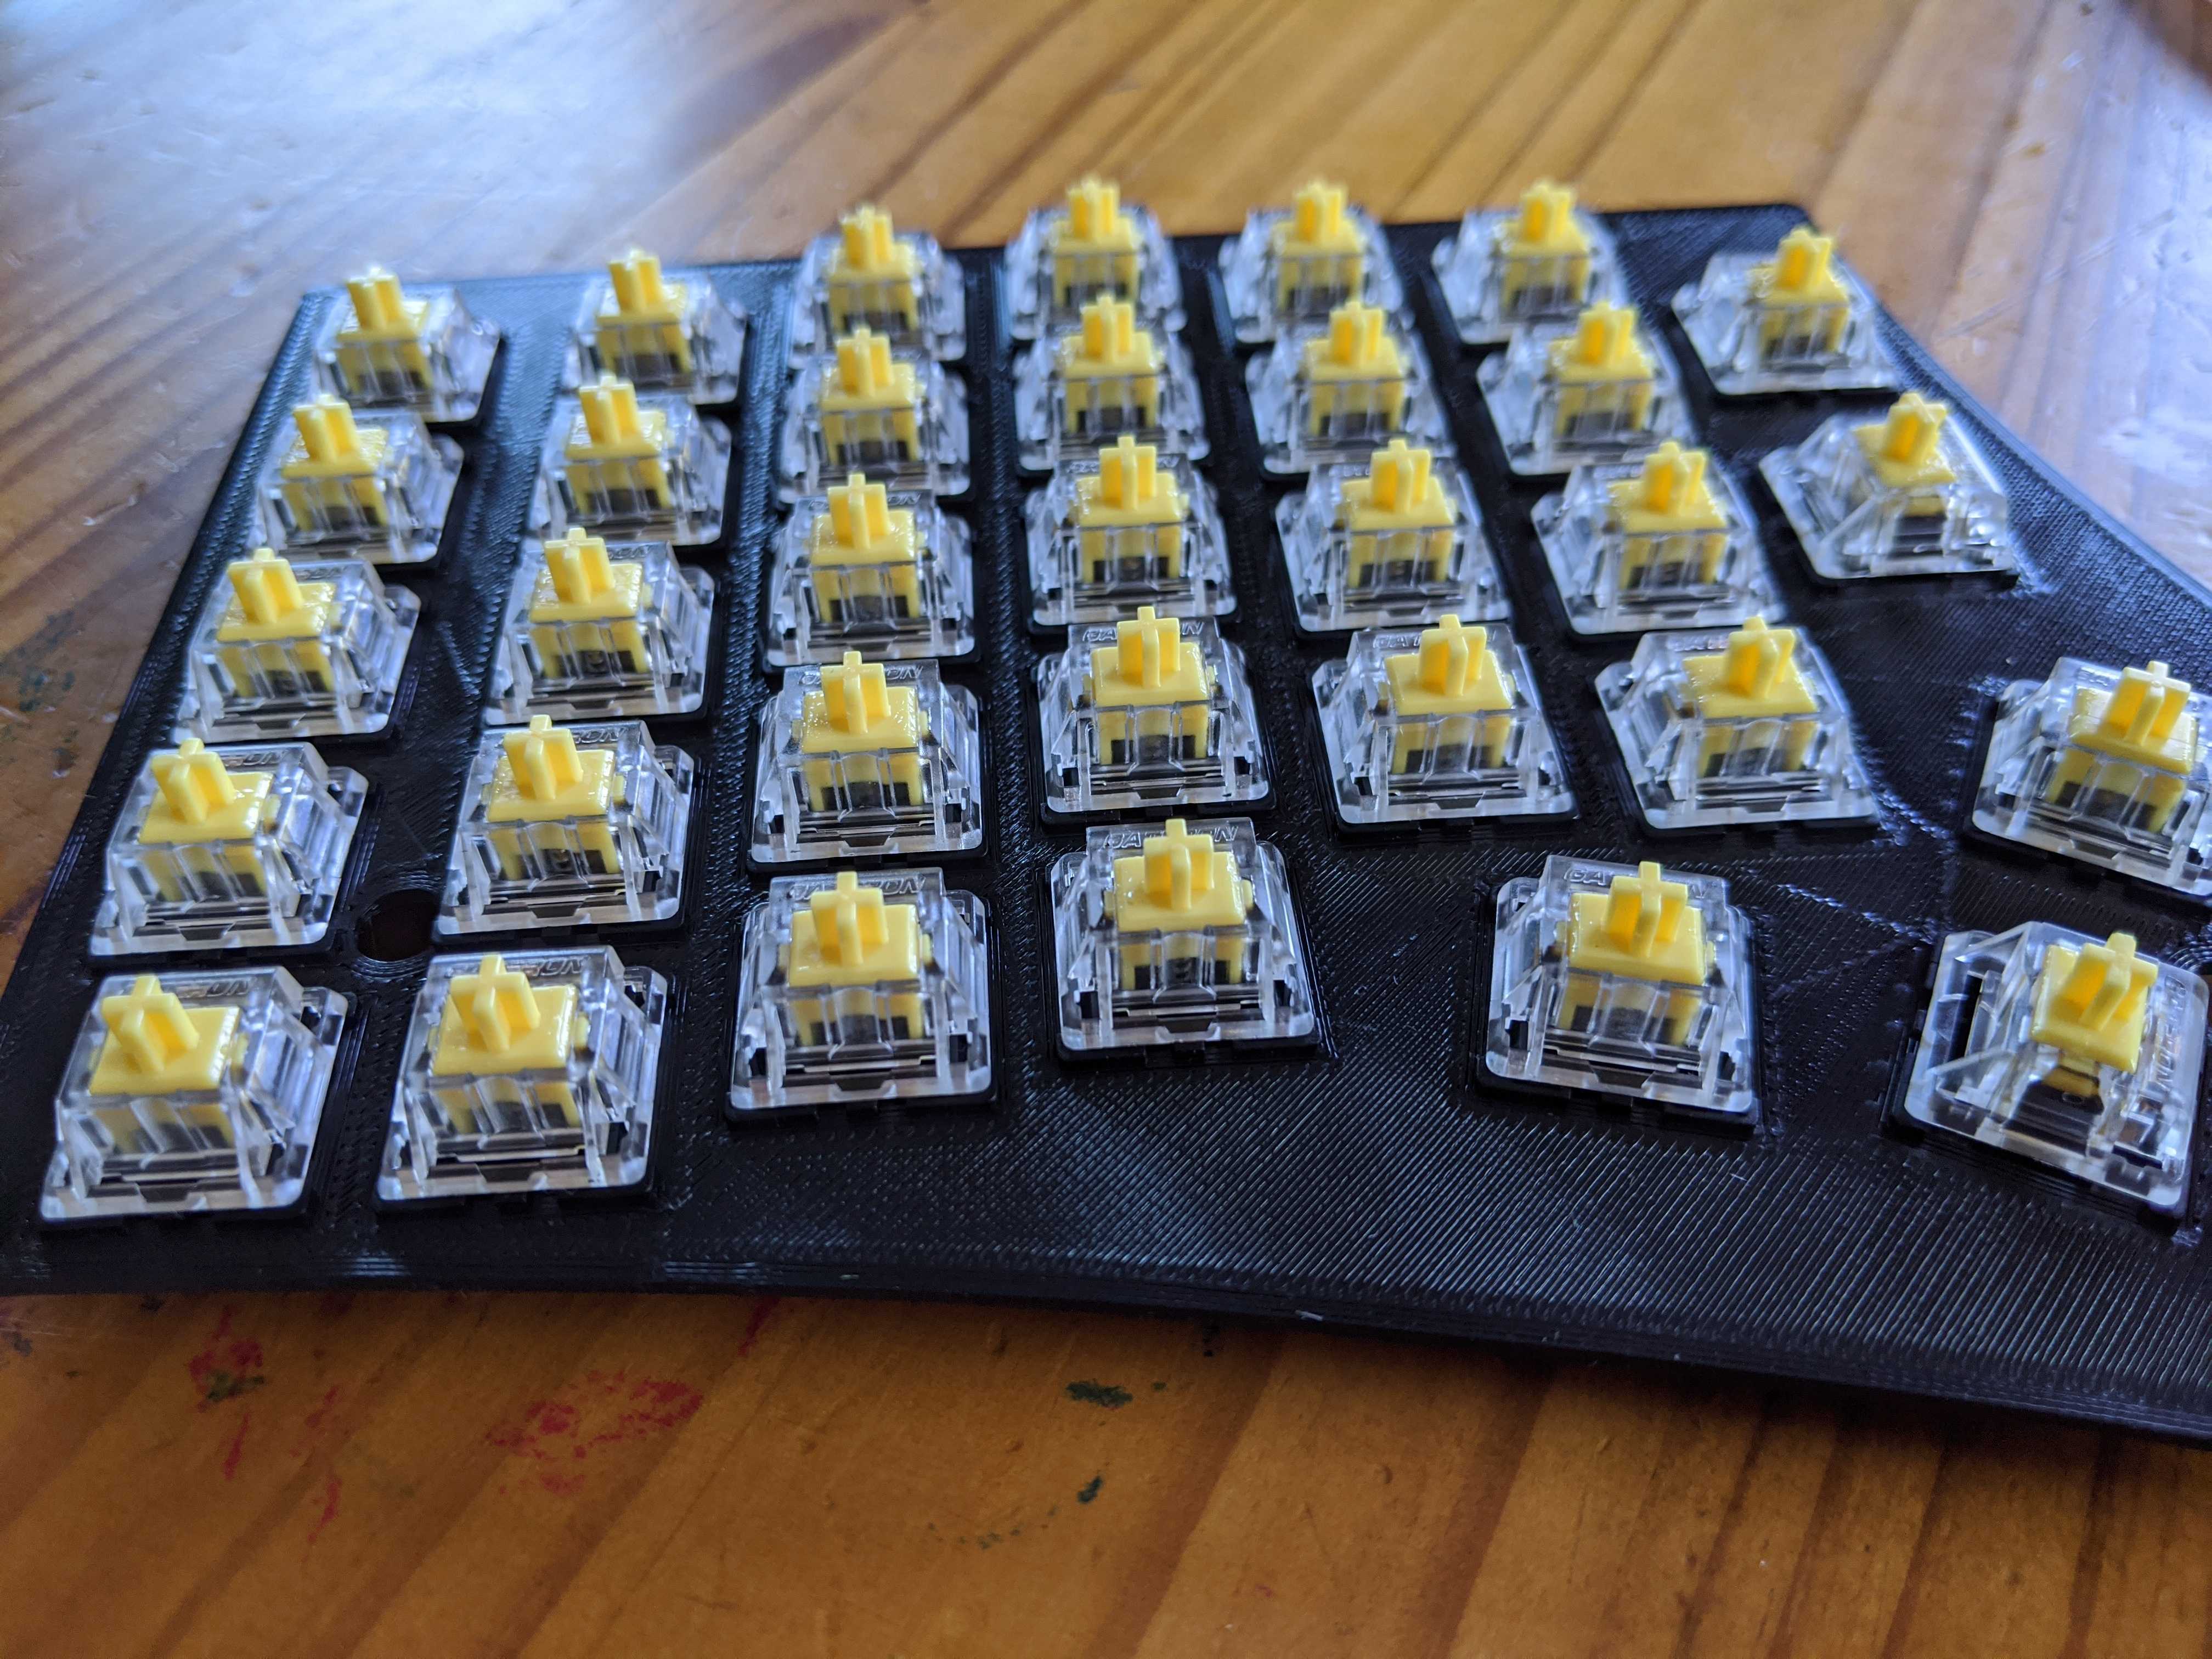
Switches placed and ready to be soldered. Some of the the switches were a tight, but I think that was due to a loose x-axis on the printer.
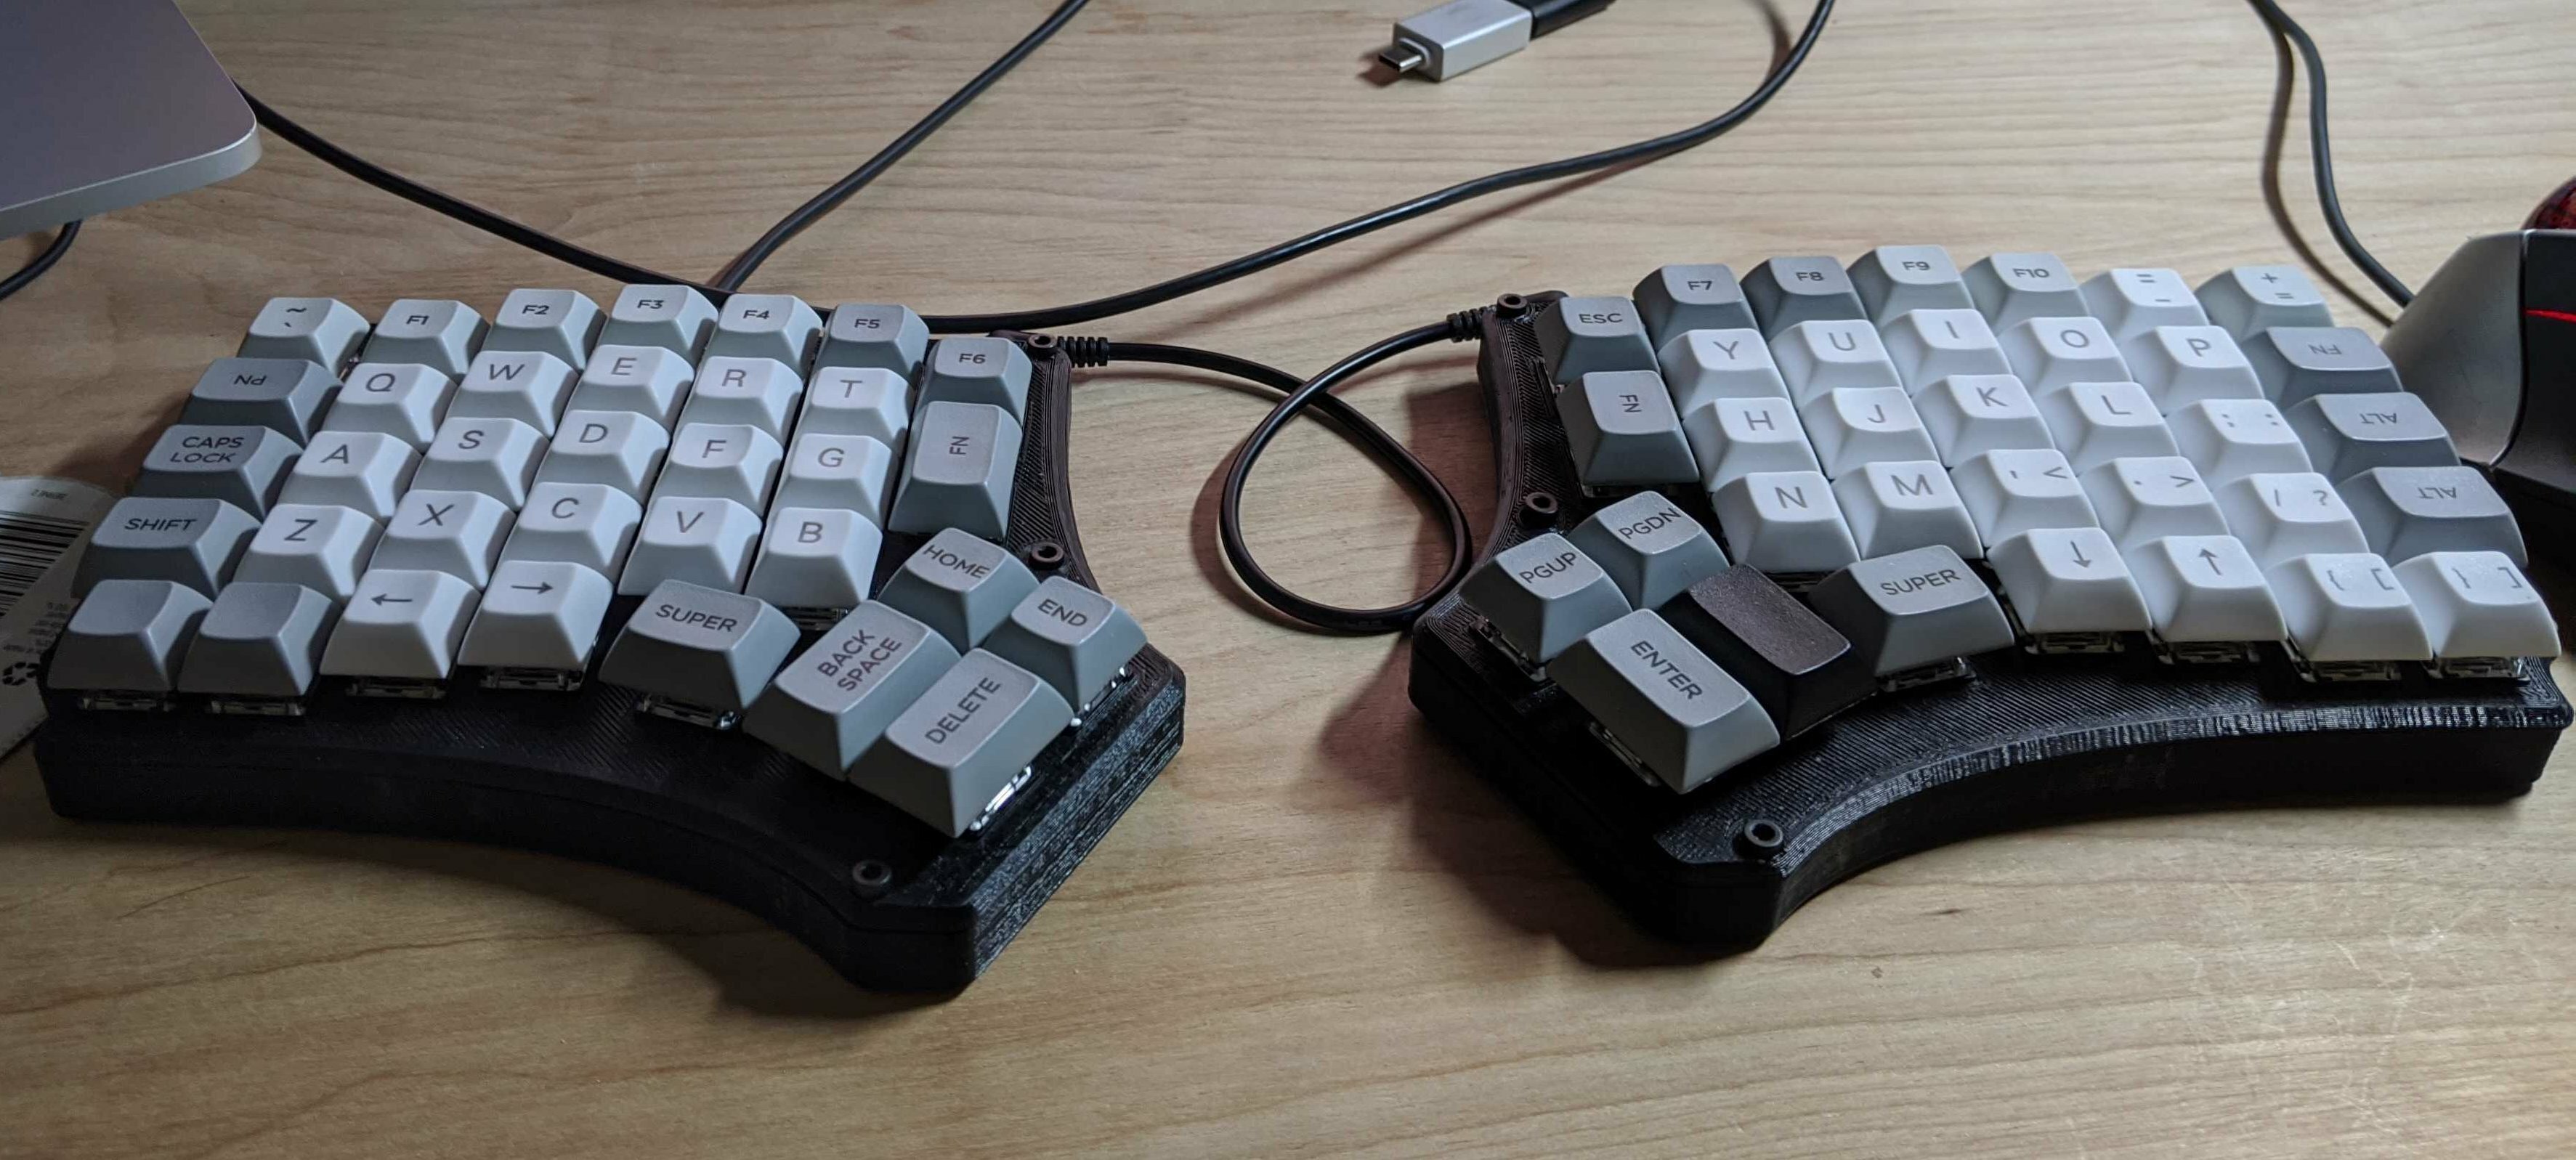
Here it is, in it’s final form, with cheap DSA keycaps from Aliexpress and some leftovers from my ErgoDox.
As far as software goes, similar to the BDN9 this is also powered by QMK firmware. You need to flash both sides and because of that, you can actually use each side independently. Here is the code for my layout.
Some additional thoughts:
- A wristrest would be nice
- Gateron yellow is a great switch
- I cannot source 1.25u keycaps with legends that match my layout. At this point, I don’t even know of a 1.25u
\exists, for example.